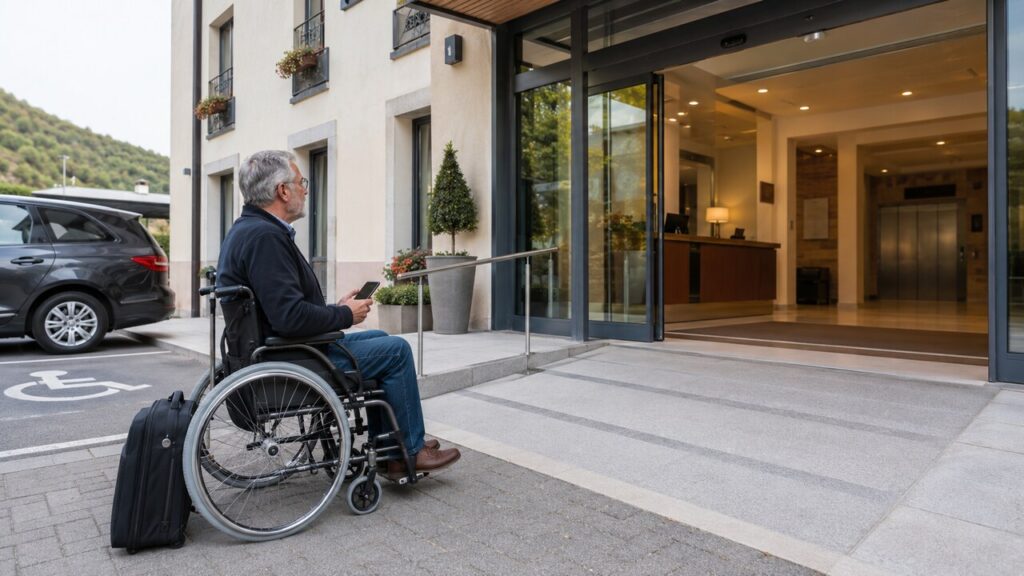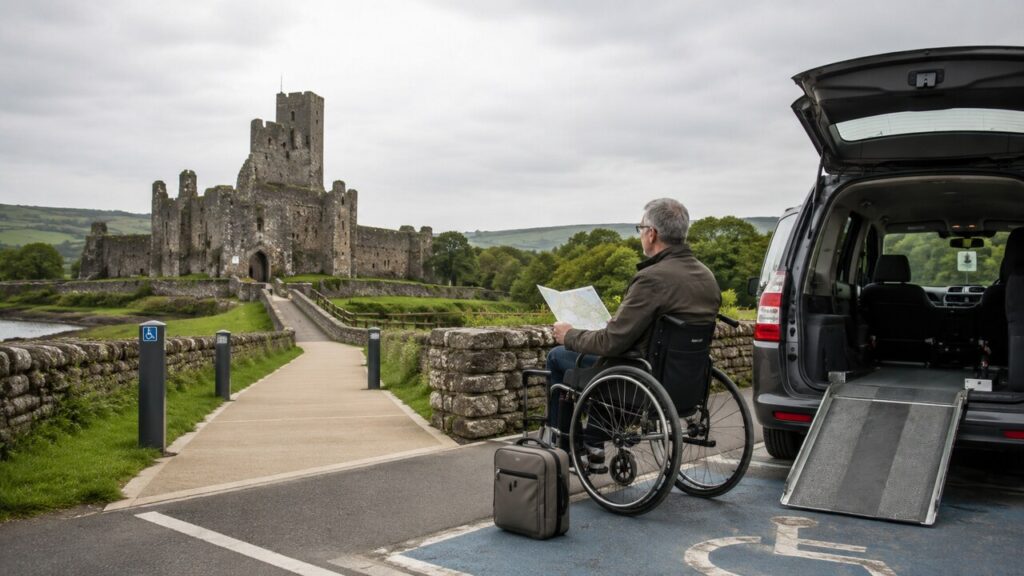
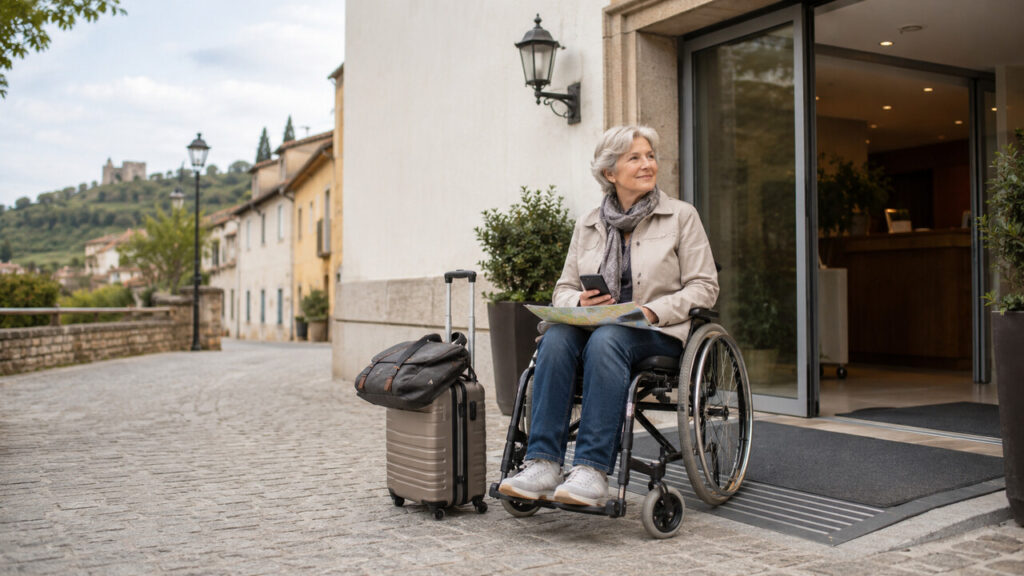
Travelling after 50 can be one of the most rewarding ways to enjoy greater freedom, discover new places and create fresh memories.
However, when you have reduced mobility, use a wheelchair, tire more easily or simply need a little more comfort than you once did, planning a journey can feel complicated.
You may wonder:
- Will the hotel really be accessible?
- Can the airline safely carry my wheelchair?
- Will there be steps at the station?
- How far will I have to walk?
- What happens if the assistance I booked does not arrive?
- Will I be able to use the bathroom comfortably?
- What should I take with me?
These are sensible questions, not reasons to stay at home.
Accessible travel after 50 is rarely about finding a completely perfect journey. It is about identifying the parts of the trip that matter most, asking clear questions and removing as many unnecessary difficulties as possible before leaving home.
This practical beginner’s guide will help you plan a more comfortable and accessible holiday, weekend break or family visit without becoming overwhelmed.
What Does Accessible Travel Really Mean?
Accessible travel means different things to different people.
For one traveller, it may mean a hotel with a lift and a room close to reception. For another, it may mean a completely step-free journey, an adapted bathroom and enough space beside the bed for a wheelchair.
Someone with arthritis may need fewer stairs and regular rest stops. A person with limited vision may need clear signs and good lighting. Another traveller may need help moving through an airport, carrying luggage or boarding a train.
This is why the word “accessible” on a hotel or attraction website is not enough.
The most important question is:
Accessible in what way, and for whom?
Before booking anything, think about what you personally need to travel safely and comfortably.
Your requirements might include:
- Step-free access
- A roll-in shower
- Grab rails beside the toilet
- A shower chair
- A lift large enough for a wheelchair
- A ground-floor room
- Accessible parking
- A firm or adjustable bed
- Space to transfer beside the bed
- Assistance at airports or railway stations
- Short walking distances
- Storage or charging for mobility equipment
- Easy access to restaurants and shops
- A quiet room near reception
- Reliable accessible local transport
Making your own list gives you a clear starting point.
Start With a Small, Manageable Journey
When planning your first accessible trip after 50, you do not need to begin with a two-week tour involving several countries, airports and hotel changes.
A simple journey is usually the best way to build confidence.
Consider starting with:
- One or two nights away
- A destination within a few hours of home
- One hotel rather than several
- Direct transport without complicated connections
- A town with nearby shops and restaurants
- A destination where you already speak the language
- A journey with flexible arrival and departure times
A short trip allows you to test your travel routine.
You will learn how much luggage you can manage, what equipment is genuinely useful, how long transfers take and how much rest you need.
You can then use this experience to plan a longer journey.
Step 1: Define Your Personal Accessibility Needs
Before choosing a destination, write down what you can manage comfortably and what may cause difficulty.
Try to be specific.
Instead of writing:
“I need an accessible hotel,”
write:
“I need a step-free entrance, a lift, a roll-in shower, grab rails and enough space to position my wheelchair beside the bed.”
Think about the whole day, from getting out of bed to returning to your room in the evening.
Questions to ask yourself
Can you:
- Walk short distances?
- Manage one or two steps?
- Transfer independently from a wheelchair?
- Use a standard toilet?
- Stand in a shower?
- Fold and lift your mobility equipment?
- Carry your own luggage?
- Sit comfortably for a long journey?
- Get into a normal car?
- Use public transport without assistance?
Also consider fatigue.
A route that looks easy on a map may include uneven pavements, steep hills, long corridors or several transfers.
Planning for your realistic energy level is just as important as checking whether a building has a ramp.
Step 2: Choose the Right Destination
Some destinations are naturally easier than others.
Historic towns can be beautiful, but they may also have cobbled streets, narrow pavements, steep slopes and buildings without lifts. Large cities may offer better accessible transport, but they can also involve long distances and busy stations.
A good beginner-friendly destination usually offers:
- Mostly level streets
- Accessible public transport
- Modern or adapted accommodation
- Restaurants close to the hotel
- Accessible toilets
- Reliable taxi services
- Nearby medical and pharmacy services
- Clear tourist information
- Several indoor activities in case of bad weather
Do not rely entirely on general travel articles describing a city as wheelchair-friendly.
Look for recent experiences from travellers with similar requirements. Conditions can vary between individual stations, streets, attractions and hotels.
Study the immediate area
The neighbourhood around your accommodation may matter more than the city itself.
Check:
- The distance from the hotel to shops
- The surface of nearby pavements
- Whether there are hills
- The location of accessible restaurants
- The nearest pharmacy
- Accessible parking arrangements
- The nearest hospital or health centre
- Whether taxis can stop close to the entrance
- The distance to the railway station or bus stop
Online maps and street-level images can help you examine kerbs, slopes, entrances and road crossings.
However, images may be old, so confirm important details directly.
Step 3: Choose the Simplest Transport Option
The cheapest journey is not always the easiest or best value.
A low-cost flight involving a long journey to the airport, an overnight hotel, two transfers and expensive accessible taxis may be less practical than a direct train or a slightly more expensive flight from a closer airport.
Compare the complete journey from your front door to your accommodation.
Include:
- Travel to the departure point
- Waiting time
- Security and boarding
- Connections
- Toilet access
- Luggage handling
- Transfer at the destination
- The risk of delays
- The physical effort involved
Travelling by car
A car can offer flexibility, privacy and more control over luggage and rest stops.
Before leaving, check:
- Accessible parking at the destination
- Parking height restrictions
- Blue Badge rules outside your home area
- Charging points if you use an electric vehicle
- Accessible service stations
- Breakdown cover
- Space for your wheelchair or mobility scooter
- Whether you need a ramp or transfer board
Plan regular breaks, even when you feel capable of driving for several hours.
Travelling by train
Train travel can be comfortable because you can move more freely than on a coach or aeroplane. However, accessibility differs between stations and trains.
Check:
- Whether all stations on your route are step-free
- Whether lifts are working
- The size and location of wheelchair spaces
- Whether an accessible toilet is available
- How much time you need for connections
- Whether assistance is available at every station
- What happens if your train changes platform
In Britain, train operators provide passenger assistance for disabled people and older passengers who need support. Assistance can include help boarding, navigating the station and handling luggage. Even when assistance has been booked, it is sensible to keep the confirmation and arrive with extra time.
Travelling by coach or bus
Coach travel may be economical, but long journeys can be difficult if you cannot remain seated comfortably or need frequent toilet access.
Ask the operator:
- Can my wheelchair remain occupied during the journey?
- Must it be stored in the luggage compartment?
- Is there a wheelchair lift?
- Is an accessible toilet available?
- Can the driver provide physical assistance?
- Are all stops accessible?
- How early must I arrive?
Do not assume that every vehicle on the same route has identical facilities.
Travelling by air
Air travel becomes easier when assistance is arranged in advance and every stage is understood.
Disabled passengers and people with reduced mobility flying to or from the UK are entitled to free assistance. This can include help through the airport, boarding, reaching the aircraft seat, transferring between flights and leaving the aircraft after arrival.
Assistance is not always added automatically. Request it directly through the airline, travel agent or tour operator and keep written confirmation.
Tell the airline exactly what you need.
For example:
- I can walk a short distance but cannot use stairs.
- I cannot walk and require an aisle chair to reach my seat.
- I can transfer independently.
- I need help with hand luggage.
- I use a manual wheelchair.
- I use a powered wheelchair with a lithium battery.
- I need my wheelchair returned at the aircraft door.
- I cannot stand for long periods at security.
Clear information reduces misunderstandings.
Step 4: Protect Your Wheelchair or Mobility Equipment
A wheelchair, mobility scooter or walking aid is not ordinary luggage. It may be essential to your independence.
Create an information sheet containing:
- Your name and contact details
- The make and model
- Weight
- Dimensions
- Folding instructions
- Lifting points
- Parts that should not be removed
- Battery type
- Instructions for disconnecting or isolating the battery
- Photographs of the equipment
- A note explaining how it should be handled
Attach a copy securely to the equipment and keep another copy with you.
Take clear photographs immediately before handing the equipment over. Photograph the frame, wheels, controls, cushions and any existing marks.
Remove loose or valuable parts where possible, including:
- Seat cushions
- Control modules
- Bags
- Cup holders
- Lights
- Removable supports
- Tools
- Chargers
Keep essential removable parts in your hand luggage when permitted.
UK government guidance states that disabled air passengers can usually travel with up to two items of mobility equipment free of charge, without those items counting towards the standard baggage allowance. Check the exact airline procedure before travelling.
You should also consider specialist insurance. Airline compensation for damaged mobility equipment may not cover the full replacement value of an expensive wheelchair, and a temporary replacement may not be identical to your own equipment.
Step 5: Never Book Accessible Accommodation Based on One Photograph
A hotel may describe itself as accessible because it has a ramp at the main entrance. That does not mean its bedrooms, bathrooms, restaurant or parking area will meet your needs.
Contact the accommodation directly before booking.
Email is useful because you will have a written record of the answers.
Questions about the entrance
Ask:
- Is the entrance completely step-free?
- Is there a permanent ramp?
- How steep is the ramp?
- Are the doors automatic?
- How wide is the narrowest doorway?
- Is there a low reception desk?
- Can a taxi stop directly outside?
- Is accessible parking available?
- How far is the parking space from the entrance?
Questions about the bedroom
Ask:
- Is the room on the ground floor?
- Is there a lift?
- What are the lift dimensions?
- How wide is the bedroom door?
- How much space is available beside the bed?
- What is the height of the bed?
- Can furniture be moved?
- Is there a socket near the bed?
- Is there room to charge mobility equipment?
- Can the room be reached without steps?
Questions about the bathroom
Ask:
- Is there a roll-in shower?
- Is there a raised shower edge?
- Is a fixed or portable shower seat available?
- Are grab rails installed?
- What is the toilet height?
- How much transfer space is beside the toilet?
- Is the sink accessible from a seated position?
- Is there an emergency pull cord?
- Does the bathroom door open inward or outward?
- Can staff provide bathroom photographs?
A room described as having a “walk-in shower” may still have a raised lip. An “accessible bath” may be unsuitable for someone who cannot transfer safely.
Exact measurements and recent photographs are more useful than general assurances.
Step 6: Check the Entire Hotel, Not Only the Bedroom
You may have a perfectly adapted room but still be unable to reach breakfast.
Ask whether the following areas are step-free:
- Restaurant
- Bar
- Reception
- Terrace
- Garden
- Swimming pool
- Spa
- Accessible toilet
- Car park
- Breakfast room
Also ask whether room service or takeaway breakfast is available if the dining area cannot be accessed.
For a beginner, a modest hotel with a genuinely accessible entrance, helpful staff and nearby facilities may be far more comfortable than a luxury resort with long corridors and complicated layouts.
Step 7: Plan Your Daily Activities Realistically
Do not fill every hour.
Travelling often requires more energy than everyday life because you are dealing with unfamiliar surroundings, transport, luggage and changing routines.
A practical schedule might include:
- One main activity each day
- A slower morning after a travel day
- Time to rest before dinner
- A flexible afternoon
- A nearby alternative in case of poor weather
- At least one quiet day during a longer trip
Check each attraction directly.
Ask about:
- Step-free entrances
- Accessible toilets
- Wheelchair hire
- Seating and rest areas
- Lift access
- Gravel or cobbled surfaces
- Steep slopes
- Accessible parking
- Carer or companion tickets
- Guided tours for disabled visitors
- Whether every part of the attraction is accessible
It is better to enjoy one attraction comfortably than rush through three and spend the next day recovering.
Step 8: Choose Suitable Travel Insurance
Standard travel insurance may not automatically cover every situation connected with disability, medical history or mobility equipment.
Read the policy carefully.
Check whether it covers:
- Existing medical conditions
- Cancellation related to health
- Emergency treatment
- Repatriation
- Mobility equipment
- Wheelchair damage or theft
- Replacement equipment
- A travelling companion
- Additional accommodation
- Missed transport caused by accessibility failures
Declare information honestly when the insurer asks for it.
Keep the policy number, emergency telephone number and important documents in both printed and digital form.
Insurance conditions vary, so contact the insurer directly when any point is unclear.
Step 9: Prepare a Practical Travel Folder
Create one travel folder that is easy to reach.
It can be physical, digital or both.
Include:
- Passport or identification
- Tickets
- Hotel confirmation
- Assistance confirmation
- Insurance documents
- Transport bookings
- Mobility equipment information
- Emergency contacts
- Medication details
- Copies of prescriptions
- Hotel address
- Taxi information
- Accessibility correspondence
- A simple itinerary
- Copies of important documents
Save essential documents offline on your phone. Internet access can fail exactly when you need information most.
You can also send a copy of your itinerary and insurance details to a trusted person at home.
Step 10: Pack for Independence, Not Every Possible Emergency
Overpacking can make accessible travel harder.
Choose a small number of items that solve realistic problems.
Useful items may include:
- A compact extension lead
- Charging cables
- A power bank
- A lightweight rain cover
- A small wheelchair repair kit
- A puncture repair kit
- Spare inner tubes
- Basic tools
- Cable ties
- Strong tape
- A torch
- Wet wipes
- Hand sanitiser
- A reusable water bottle
- A seat cushion
- A folding grabber
- A transfer board
- A radar key for accessible toilets in the UK
- A small bag that attaches securely to your wheelchair
- A printed card explaining your mobility equipment
Keep important medication, documents, chargers and essential mobility accessories in your hand luggage rather than checked baggage.
Do not carry tools or batteries through airport security without first checking the relevant restrictions.
Step 11: Arrange Airport Assistance Early
Although assistance may sometimes be available without advance notice, arranging it early gives airlines and airports more time to prepare.
The airline may ask you to select an assistance category. These categories can sound technical, so explain your needs in plain language as well.
Confirm:
- Where you should report on arrival
- How early you should arrive
- Whether you can remain in your own wheelchair
- When your wheelchair will be collected
- Whether an aisle chair is required
- How you will board the aircraft
- Where your wheelchair will be returned
- What assistance is available during connections
- Who to contact if the service is missing
When you arrive at the airport, check in with the assistance desk even when you have online confirmation.
Keep names, times and reference numbers whenever possible.
Step 12: Allow More Time Than You Think You Need
Accessible travel often involves waiting for lifts, staff, ramps, vehicles or equipment.
Build extra time into:
- Airport arrival
- Railway connections
- Hotel check-in
- Taxi collection
- Attraction entry
- Meals
- Rest stops
Avoid very short connections.
A route that saves 20 minutes on paper may create unnecessary stress if it requires changing platforms or moving quickly through a large terminal.
A calmer journey is usually worth more than the fastest possible arrival.
Step 13: Prepare a Backup Plan
Even careful plans can change.
A lift may be broken. A taxi may not arrive. An accessible hotel room may be allocated incorrectly. A wheelchair may be delayed.
Prepare simple alternatives.
Write down:
- A second accessible taxi company
- Another nearby hotel
- The transport operator’s assistance number
- The airline’s accessibility contact
- Local emergency numbers
- The nearest pharmacy
- The nearest wheelchair repair service
- A trusted contact at home
- Your travel insurer’s emergency number
Keep enough money available for an unexpected taxi, hotel night or essential repair.
A backup plan does not mean expecting the worst. It means knowing what to do without having to solve everything while tired or stressed.
Step 14: Confirm Everything Shortly Before Departure
Contact the airline, hotel and transport providers a few days before your journey.
Confirm:
- Your accessible room
- The bathroom arrangement
- Airport or station assistance
- Mobility equipment details
- Accessible transfers
- Parking
- Arrival time
- Any equipment requested from the hotel
Ask the hotel to add an accessibility note to the booking.
Bring copies of previous emails, especially when a particular room feature is essential.
Step 15: Speak Up When Something Is Not Right
You do not have to accept an unsafe transfer, an unsuitable room or assistance that ignores your needs.
Be calm, clear and specific.
Instead of saying:
“This room is not accessible,”
say:
“I booked a room with a roll-in shower and transfer space beside the toilet. This bathroom has a step and I cannot use it safely. I need the accessible room confirmed in my booking.”
Take photographs and keep written records when there is a serious problem.
For air travel to or from the UK, disabled passengers and people with reduced mobility have legal accessibility rights. Complaints should normally begin with the airline or airport involved, with further routes available when the problem is not resolved.
A Simple Accessible Travel Checklist
Before booking
- List your essential accessibility needs
- Choose a manageable destination
- Compare complete door-to-door journeys
- Check the neighbourhood around the hotel
- Contact the accommodation directly
- Request recent photographs and measurements
- Check accessible local transport
- Read the cancellation policy
- Compare travel insurance
After booking
- Request passenger assistance
- Confirm mobility equipment procedures
- Arrange accessible airport or station transfers
- Save written confirmations
- Create a travel folder
- Photograph your wheelchair
- Prepare equipment instructions
- Check attraction accessibility
- Create a simple daily itinerary
- Prepare a backup plan
A few days before departure
- Reconfirm the hotel room
- Reconfirm transport assistance
- Check weather conditions
- Charge all equipment
- Download documents for offline access
- Pack medication and essentials in hand luggage
- Check for transport disruptions
- Share the itinerary with a trusted person
On the day
- Leave home early
- Report to the assistance point
- Keep documents within reach
- Photograph mobility equipment before handing it over
- Confirm where it will be returned
- Drink water and take rest breaks
- Ask questions whenever instructions are unclear
Common Accessible Travel Mistakes
Trusting the word “accessible”
Always ask what accessible means in practical terms.
Booking the cheapest route
The cheapest route may involve longer transfers, more walking and extra taxi costs.
Planning too many activities
Fatigue can quickly turn an enjoyable trip into an endurance test.
Accepting verbal promises only
Ask for important arrangements in writing.
Packing essential equipment in checked luggage
Keep the items you cannot manage without close to you whenever regulations allow.
Assuming assistance will be automatic
Request, confirm and report to the designated assistance point.
Forgetting the return journey
Confirm assistance and transfers for both directions.
Final Thoughts: Confidence Comes From Preparation
Accessible travel after 50 does not have to begin with an ambitious adventure.
It can begin with one night in a nearby town, a direct train journey or a quiet hotel where you know your basic needs will be met.
Every journey teaches you something.
You may discover that you need less luggage. You may find a hotel chain that understands accessibility. You may learn which questions produce the clearest answers or which form of transport suits you best.
Most importantly, you can prove to yourself that travel is still possible.
You do not need perfect health, unlimited money or complete independence to enjoy a meaningful journey.
You need honest planning, reliable information, enough time and the confidence to ask for what you require.
Start small. Prepare carefully. Keep your first itinerary simple.
Then take the next journey when you are ready.
Frequently Asked Questions
Is accessible travel only for wheelchair users?
No. Accessible travel can support people with limited mobility, arthritis, reduced vision, hearing loss, hidden disabilities, temporary injuries, fatigue and many other needs.
How far in advance should I request travel assistance?
Request assistance as early as possible after booking and check the provider’s current notice requirements. Confirm the arrangement again before departure.
How can I tell whether a hotel room is genuinely accessible?
Contact the hotel directly and ask detailed questions about steps, doorway widths, bed height, transfer space, the shower and toilet. Request recent photographs and measurements.
Should I book through a travel agent?
A specialist accessible travel agent can be helpful for a complicated journey. However, you should still confirm essential accessibility details yourself and keep them in writing.
What is the easiest first accessible trip?
A short direct journey to one accessible hotel, with nearby food and activities, is often the best starting point. Avoid complicated connections and changing accommodation every night.
Can an airline refuse to carry my wheelchair?
Airlines can apply safety and aircraft-related restrictions, particularly for some powered mobility equipment and batteries. Contact the airline before booking and provide accurate equipment specifications.
What should I do if my wheelchair is damaged during a flight?
Report the damage immediately before leaving the airport, photograph it, obtain written confirmation and contact the airline and your insurer. Keep receipts for necessary repairs or replacement arrangements.